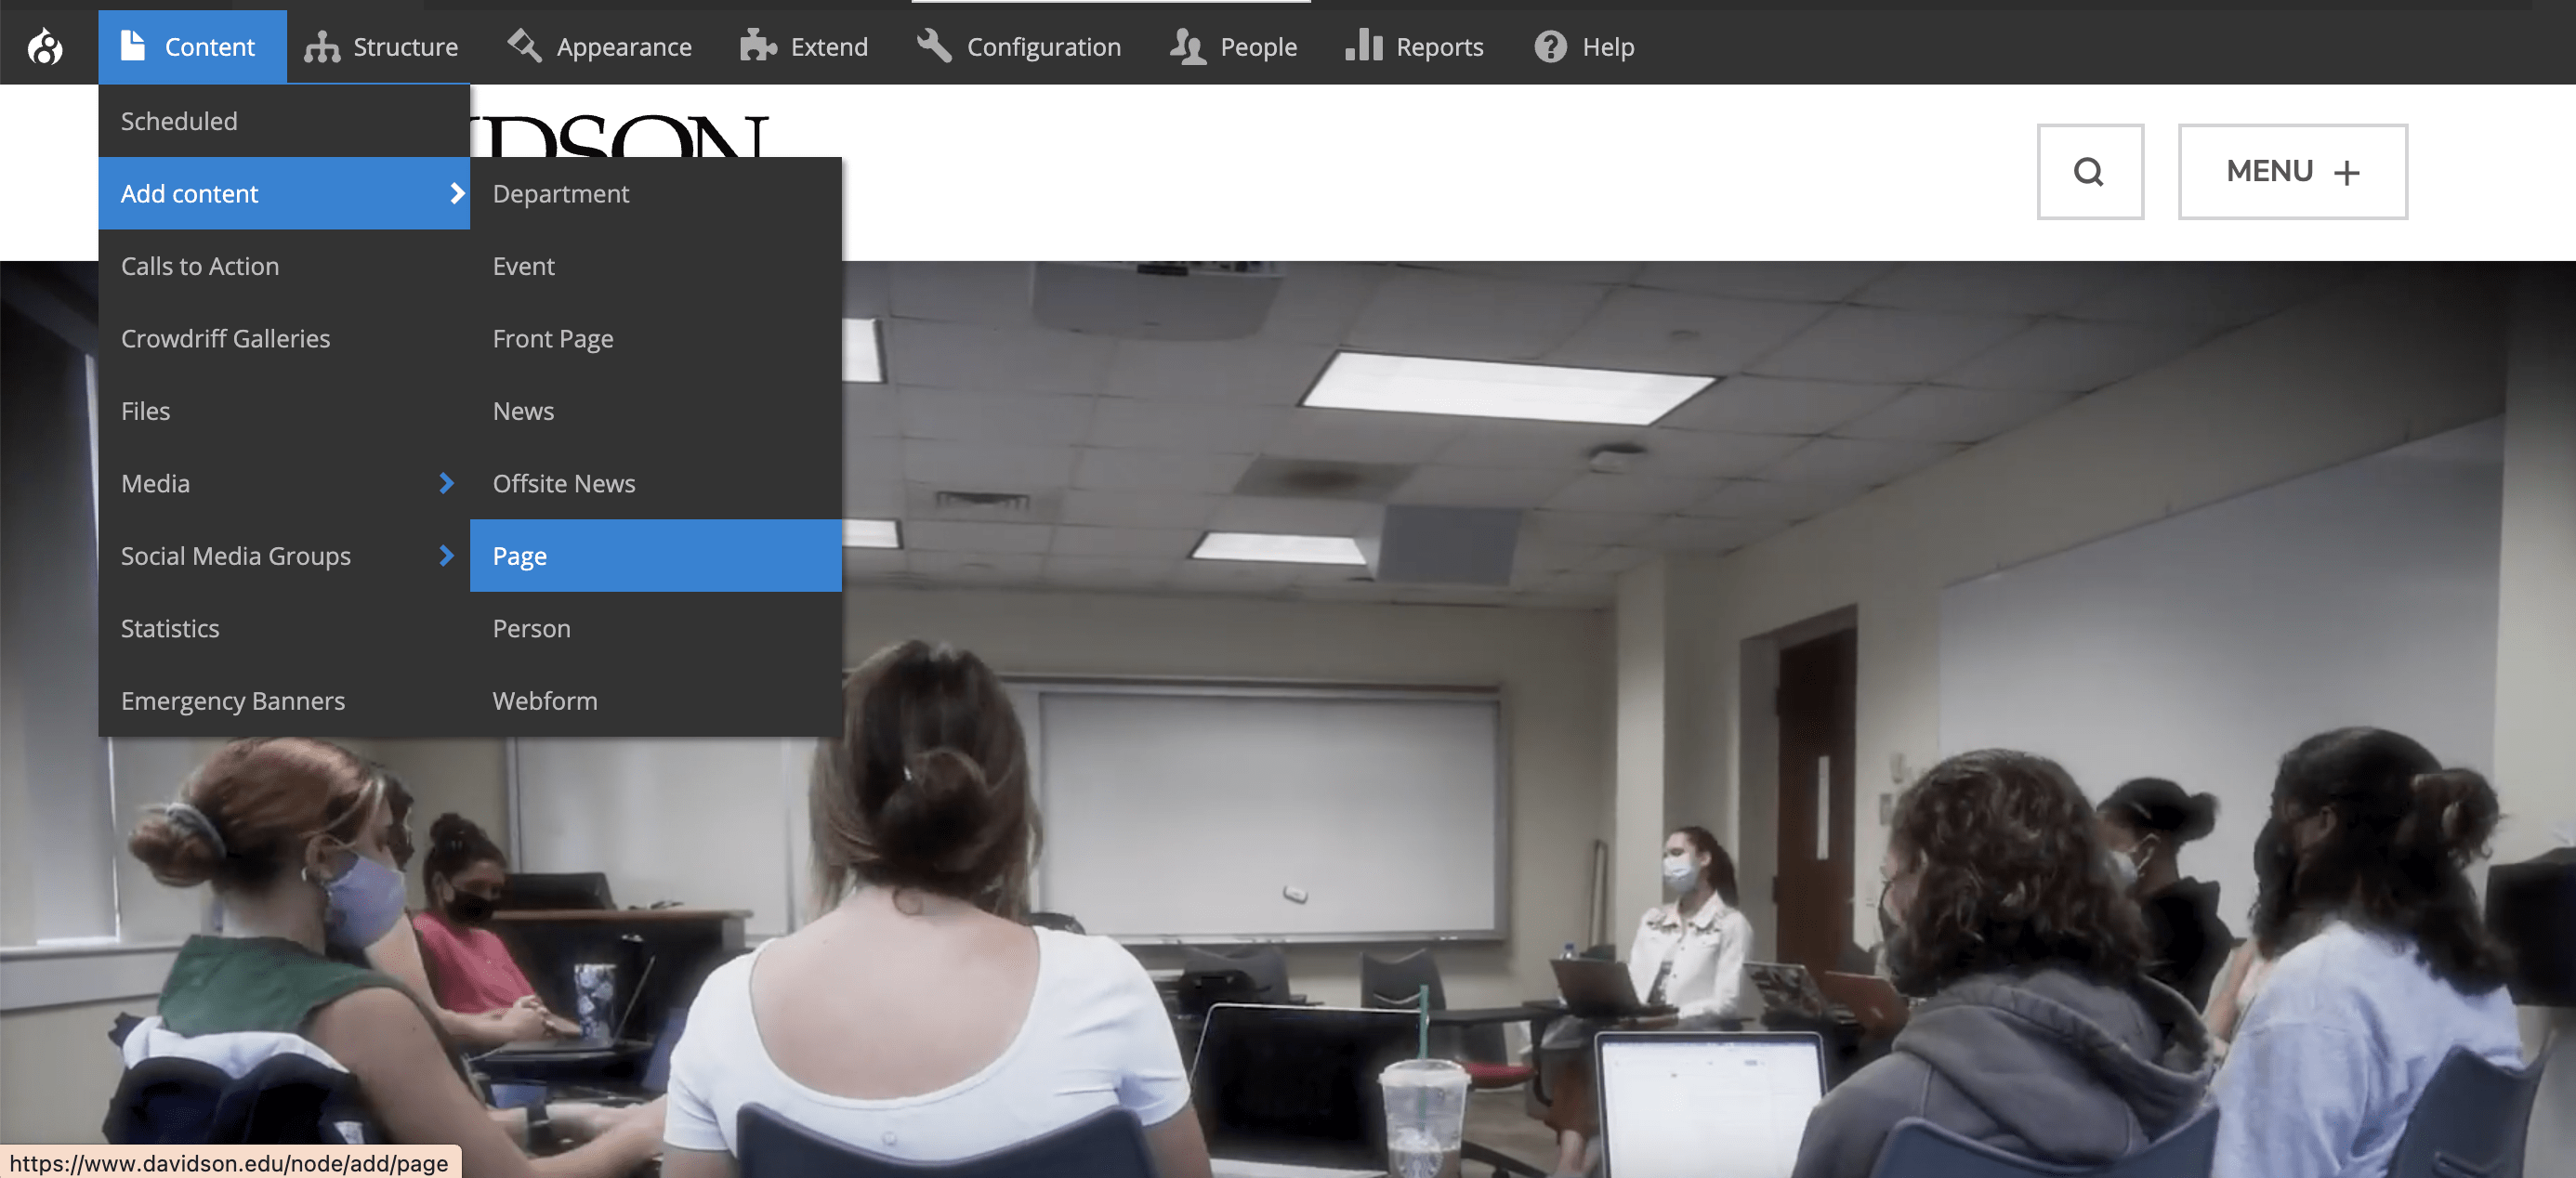
When creating a new node, you’ll have several options to choose from:
- News
- Page
- Person
1.) To create a new page, select “page” from the “Add content” menu option.
2.) Fill in the page using intuitive language, including your chosen title and description. Upload a cover image where applicable. Choose an appropriate category. For example, if creating a “Student Involvement” page for the Music Department, select “Music.”

3.) At this point in the page creation, you will need to decide where you want your content to live. Review the types of content tabs in CMS Training Module 4.
4.) Finally, you will want to add your page to the menu. Apart from exceptional circumstances, all pages should live in the menu so as to be navigable to users. To do this, you will need to select “Menu Settings” in the right hand column of text.
5.) Select checkbox next to “Provide a menu link.” Provide menu link title (should match page title) and description.
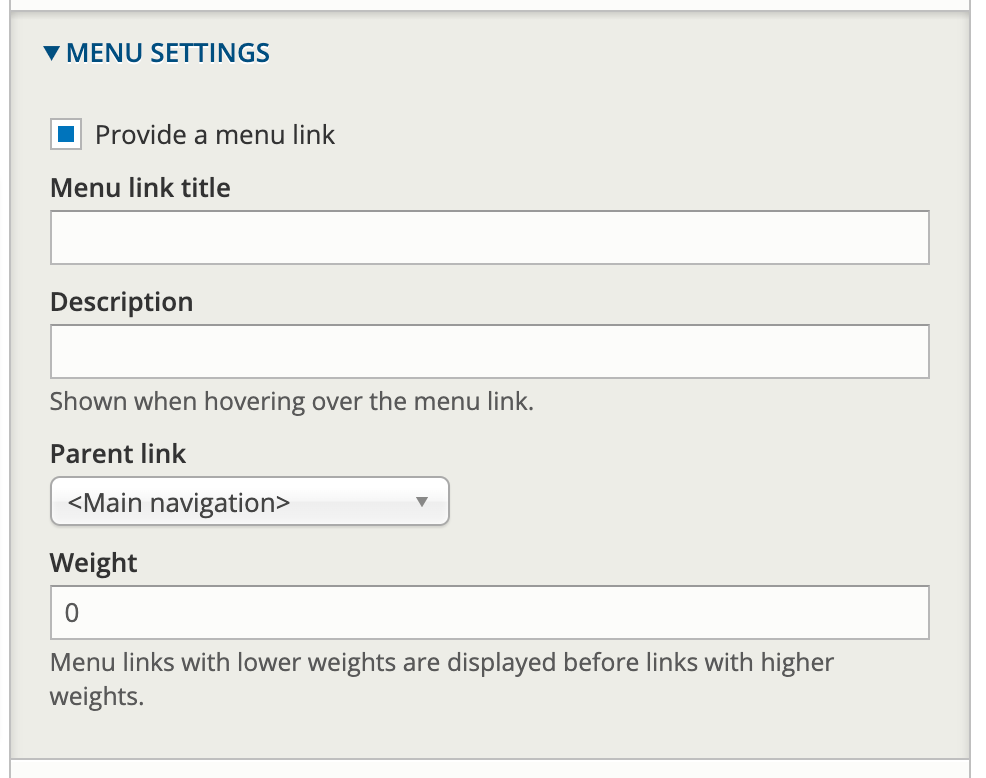
6.) Choose where in the site’s navigation you would like the page to live by selecting a “Parent link.” Here are some examples of pages and their parent links:
- Page: Visit // Parent Link: Admission and Financial Aid
- Page: Major and Minor // Parent Link: Communication Studies
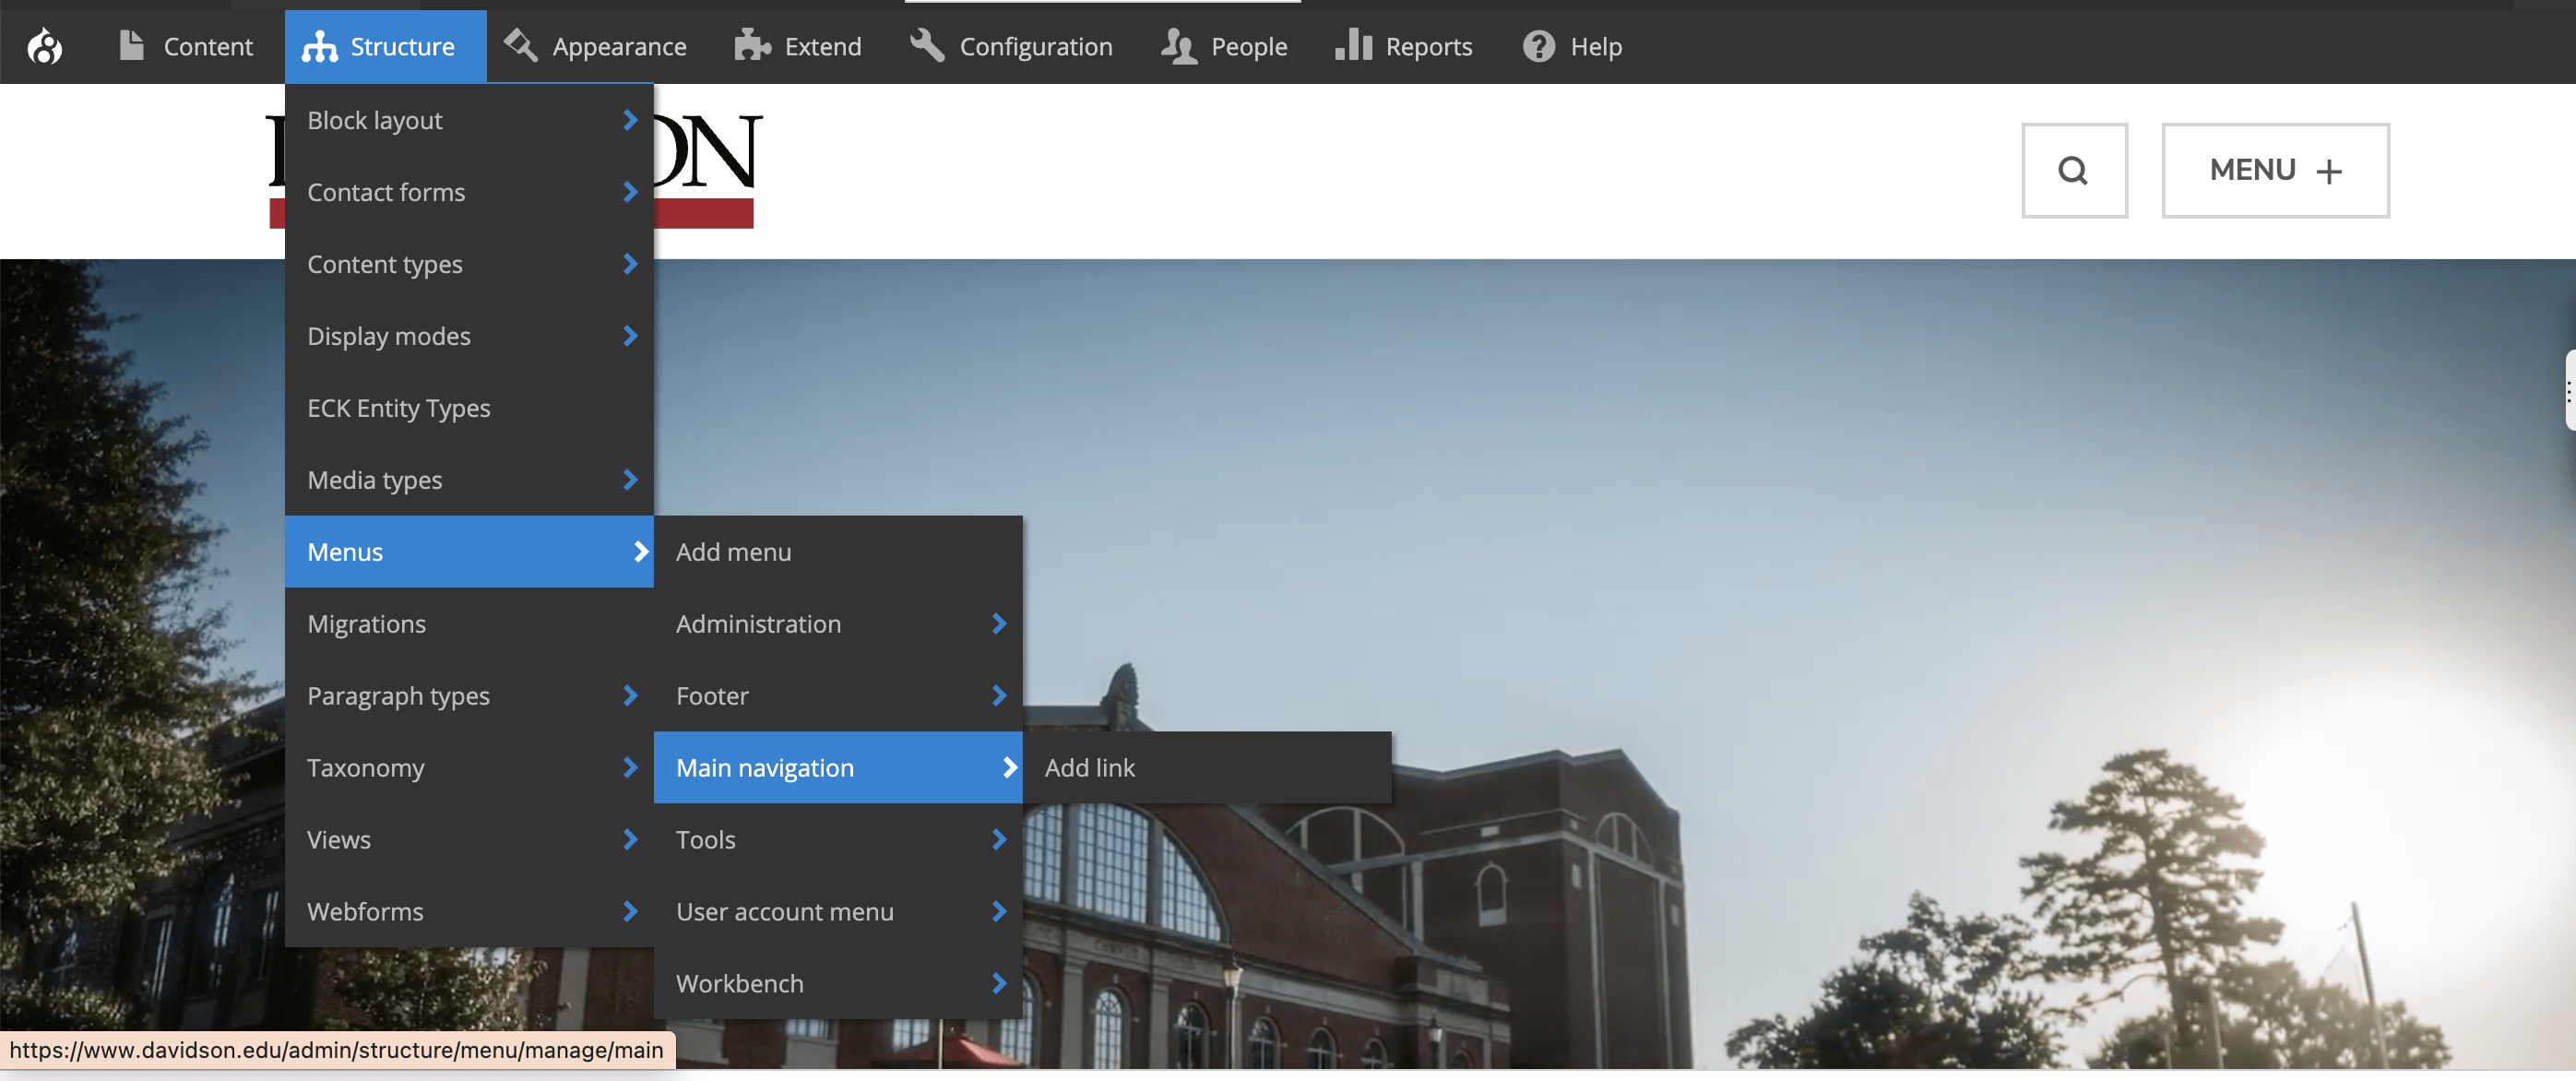
7.) To further reorder menu navigation, go to “Structure” and “Menu” options of workbench.